How to sell eSIMs under your own brand.
Starting an eSIM business on eSIMLab takes eight steps, from creating an account to your first sale. Each step below says what you need before you begin, so nothing stalls halfway.
- No code required
- Your own provider and Stripe accounts
- Nothing is published until you say so

Setup, step by step
How do you start an eSIM business?
You need three things: an account with an eSIM provider, a Stripe account to take payments and a domain for your store. On eSIMLab you create a workspace, choose a plan, connect your domain, add your brand, connect your provider, set your prices, connect Stripe and publish.
Create your account
Register with your email address and confirm it with the code we send. Registration itself is free.
Tell us how you sell and choose a plan
Pick the channel you want to sell through (online store, agency counter or guest page), answer a couple of questions about your numbers and choose a plan. The plan is paid by card on this screen, before the workspace opens.
Connect your domain
Add one DNS record that points your domain at us. We check it automatically, often within minutes, and the SSL certificate is issued for you.
Add your brand
Your shop name, logo, accent colour and a support email address. Customers see this name on the store, the checkout and the delivery email.
Connect your eSIM provider
Paste the API key and secret from your eSIM Access account. Saving it imports the catalogue, with your own cost on every plan. Sandbox mode lets you test without issuing real eSIMs.
Set your prices
Add a percentage or a fixed amount on top of what each plan costs you. You can change any single price by hand later, and it stays put when the margin changes.
Connect Stripe
Paste the secret key and the webhook signing secret from your own Stripe account. The secret key is checked with Stripe before it is saved, so a mistyped key is caught now rather than at a customer's checkout.
Publish and sell
Publishing is a deliberate step, not a side effect of finishing a form. A store that cannot take a payment cannot be published, and the last screen tells you exactly what is missing and which step fixes it.
Every plan starts with a 14-day free trial, and a card is required in step 2. During the trial the store runs in sandbox mode: connecting your own domain and selling for real open when you press Start selling.
The traveller's side
What does buying an eSIM look like for your customer?
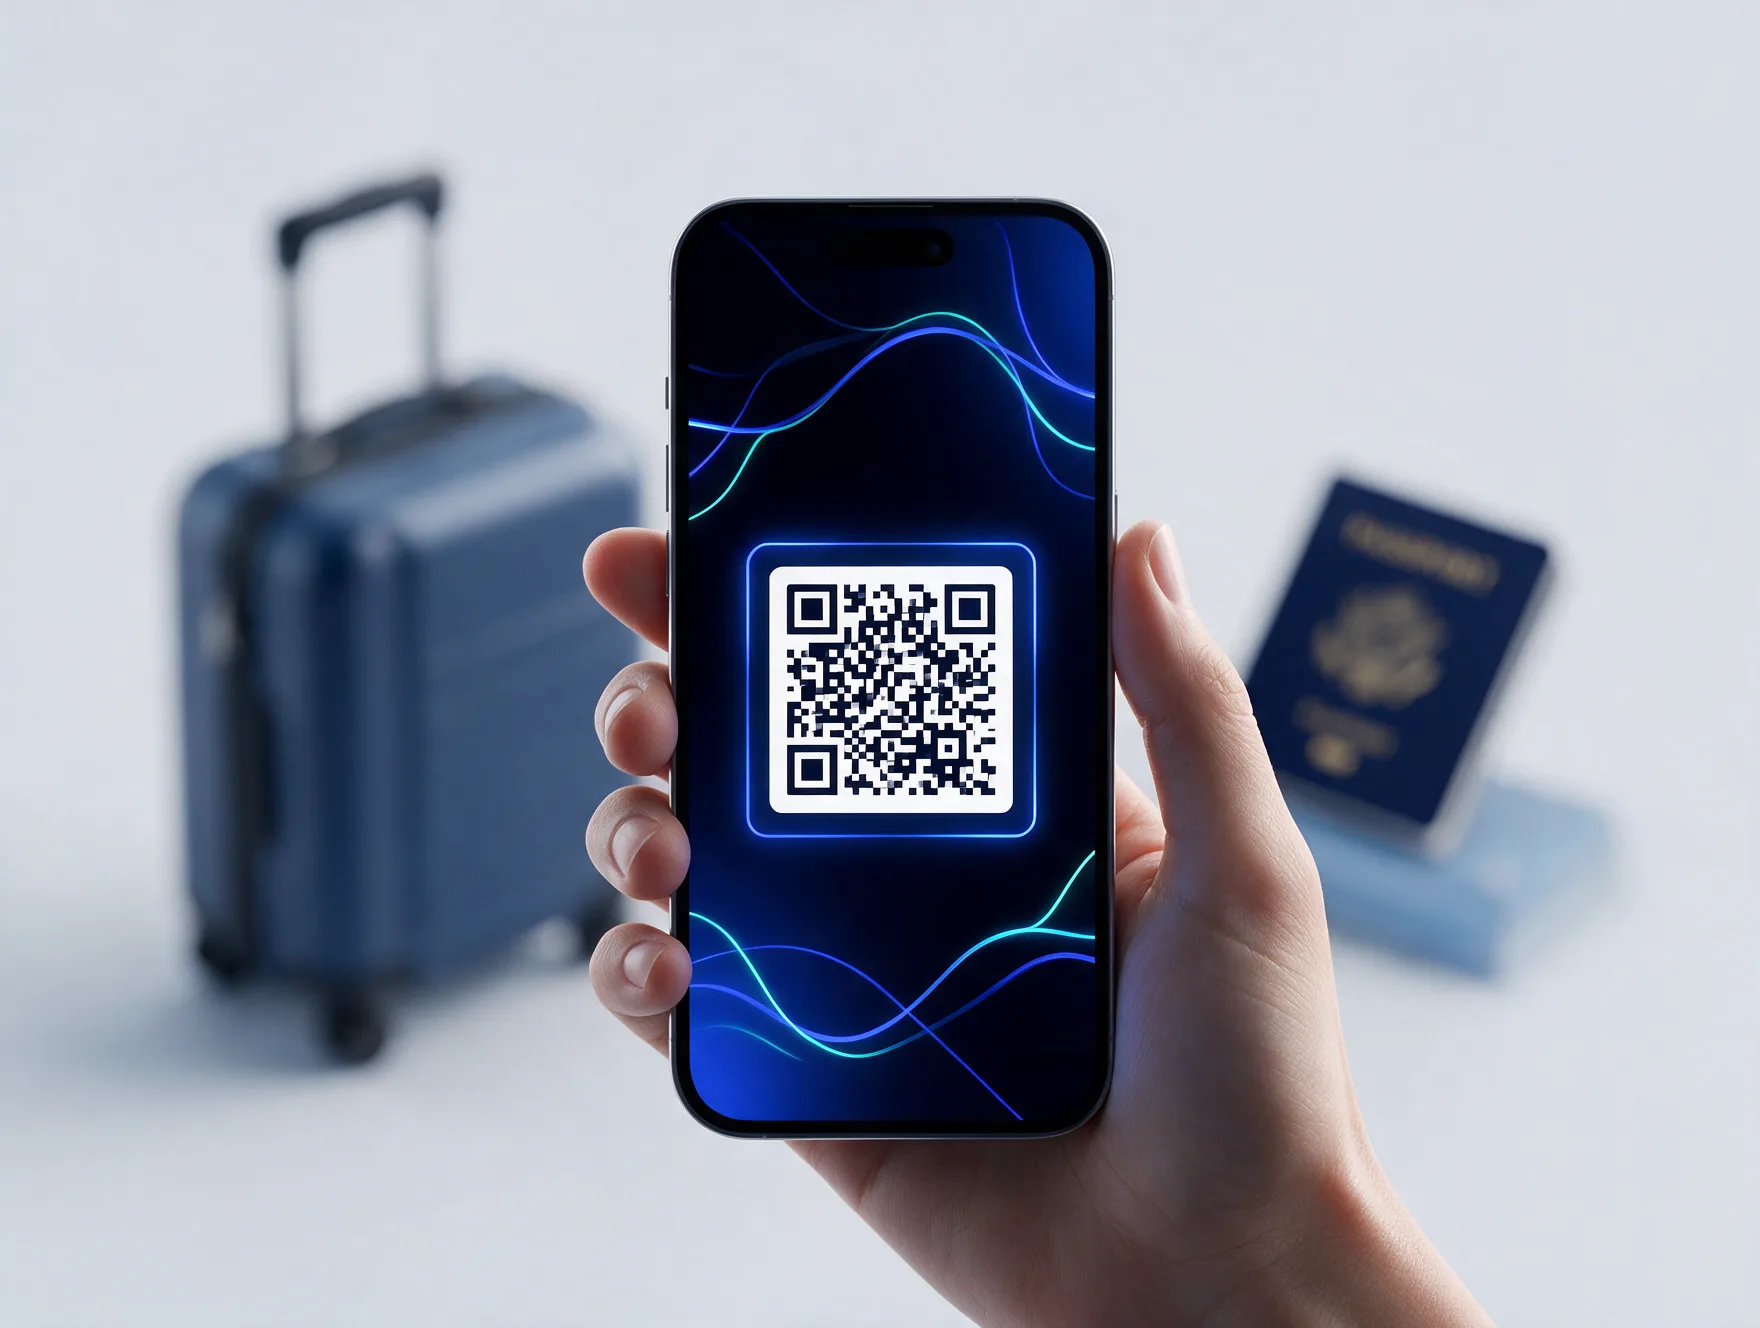
Your customer never sees eSIMLab. They find a destination on your store, choose a plan, pay through Stripe's checkout and get a QR code to install, all under your brand and on your domain.
Choose a destination
Search or browse the destinations you publish.
Choose a plan
Data, validity and your price, in the currency you offer.
Pay
Stripe's hosted checkout takes the payment straight into your account.
Install and connect
The QR code and manual activation details appear on the order page and arrive by email.
After launch
What happens on every order after that
This is the part you never have to touch again. eSIMLab issues and delivers each eSIM, and keeps the record you need when a customer writes in.
Customer pays
On your store, in their currency, into your Stripe account.
Provider is called
The plan is bought from your eSIM Access account.
eSIM is delivered
QR code and activation details, under your shop name, with replies going to your support address.
Order is kept
A lost email can be resent from your store. A failed issue shows on the order with a button to try again.
Other channels
Setting up a counter or a guest page
The agency counter and the guest page have their own setup guides, laid out the same way. Closing a guide halfway costs nothing: reopening it lands on the first step you have not finished.
Agency counter
Add the desks you sell from and the staff who serve at them, choose what comes up on the counter screen, decide whether you take cash or use your own card machine, and set what is printed on the slip the traveller leaves with.
Guest page
Give the page its own domain, add the property, write the short page a guest sees after scanning, pick the plans and price, connect Stripe, print the QR codes and set what the property earns on each sale.
Do I need my own eSIM provider account?
Yes. eSIMLab is bring-your-own-provider: you connect your own eSIM Access account, keep your own wholesale terms and see your own cost on every plan. eSIM Access is the one provider the platform connects to today.
What if my provider is not eSIM Access?
Tell us which one you use. There is no second provider connector yet, and the providers people ask for decide which one is built next.
Can I test the store before taking real money?
Yes. Turn on sandbox mode for your provider so no real eSIM is issued, and use test keys from Stripe. Switch to live keys and turn sandbox mode off when you are ready to sell.
Is there a free trial?
Yes. Every plan starts with a 14-day free trial, and a card is required. You build and test in sandbox mode, then press Start selling to end the trial and take real orders. If you do nothing, the plan is charged on day 14.
Can someone from eSIMLab set it up with me?
Guided setup is included on Growth and Scale. On Starter the help centre covers every step, and email support is included on every plan.
What happens if an eSIM cannot be issued?
The failure is shown on the order rather than silently lost, and the order can be retried from the dashboard. A retry never buys a second eSIM for an item that already has one, and never charges the customer again.
Your eSIM brand, live on your own domain.
Create an account, connect a provider and Stripe, and start selling under your own name.